Reinforced frame
Swap key posts for Core Wood. Leave room for this addition when you choose the original site.
A warm place to return to. Explore the complete sample plan, gather materials, and work through the construction from the first floor tile to the final torch.
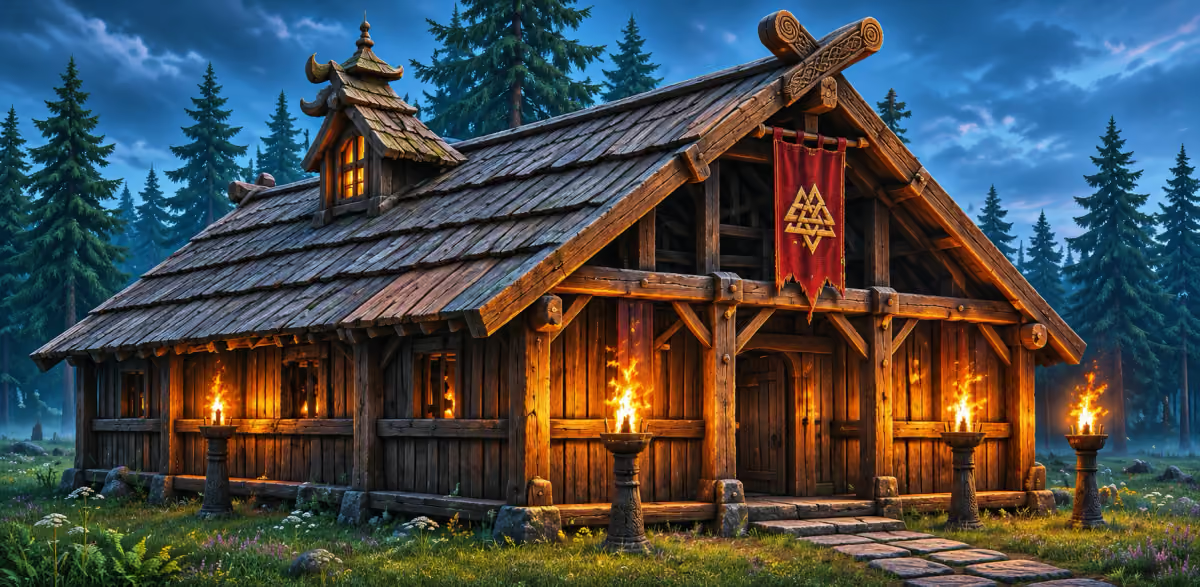
This longhouse brings sleeping space, a central hearth and a work area under one roof. Treat it as a starting plan: adapt the entrance to your terrain and leave space for storage, a workshop annex or a palisade.
The plan and material quantities are examples. Your terrain, supports and decoration will affect the final shopping list.
A shopping list you can scale for a larger settlement.
Everything the example longhouse needs. Scale it for your settlement, then add it to your Gathering List.
| Material | Per build | Gather |
|---|---|---|
| Wood | 476 | 476 |
| Stone | 51 | 51 |
| Corewood | 44 | 44 |
| Resin | 12 | 12 |
| Leather Scraps | 6 | 6 |
| Blueberries | 4 | 4 |
| Finewood | 2 | 2 |
| Total materials | 595 |
Exact materials for the example build in the Base Planner. Your terrain, supports and changes can alter what you need.
Keep the center open and give the workshop its own end of the hall.
Start with the entrance and hearth, then leave a clear route to both ends of the hall. Use the floor grid to check proportions before you raise the walls.
See it floor by floor with every piece and its exact materials, then change it to suit your world.
0 of 6 steps complete. Your checklist is saved in this browser.
Choose your site and mark the perimeter before gathering the full material list. Leave room around the footprint for construction and future additions.
Work from one corner across the footprint. Check the floor alignment before placing the walls so the rest of the plan has a consistent starting point.
Mark the entrance and workshop ends first. Use the floor plan below to keep the hearth, sleeping space and work area separate.
Build the main roof shape before filling the remaining walls. Keep the central hearth location in mind as you finish the roof.
Keep an opening above the hearth for smoke. Check the space from inside before committing to decorative beams and the final roof pieces.
Add the everyday essentials first, then lighting and decoration. Walk the route from entrance to storage and workshop to check that the layout feels comfortable.
Finish the essentials, then choose the additions that fit your playthrough.
Swap key posts for Core Wood. Leave room for this addition when you choose the original site.
Add a lean-to for Workbench upgrades. Leave room for this addition when you choose the original site.
Stone surround for extra comfort. Leave room for this addition when you choose the original site.
Ring the base with a stake wall. Leave room for this addition when you choose the original site.
Explore the interior, lighting and winter variation.