What each boss does, how to beat them, what to bring and what you win.
Boss 1 of 8 / Meadows
Eikthyr
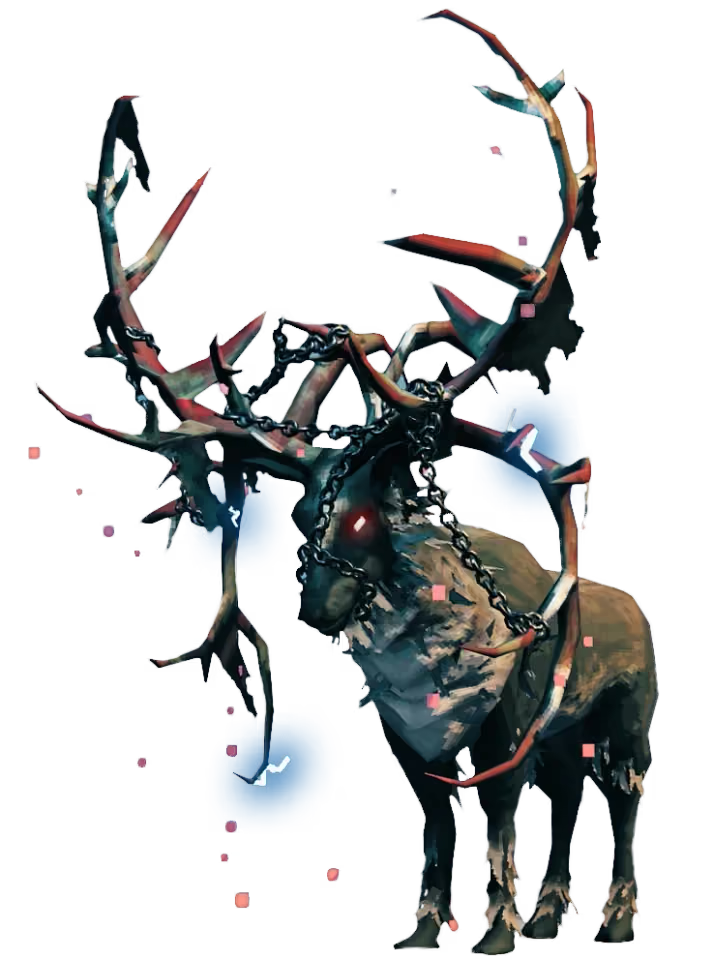
His antlers are branches of iron, they crack the rocks and bring down mountains. His hooves are the sound of thunder. His voice a howling gale.
A giant stag bound in iron chains, with antlers that crackle with lightning. He is the first real test of the game and a gentle one: slow, predictable and short on health.
Health
500
Summon
2 Deer Trophies
Weak to
Nothing in particular
Resists
Nothing in particular
Immune to
Stagger
What to expect
Antler swipe
A short, narrow melee swing with a 4.5 m reach, every 5 seconds. Deals 20 Pierce.
Lightning charge
A beam fanning out 20 m in front of him, every 25 seconds. Deals 15 Lightning.
Stomp
A ring of lightning spreading 10 m around him when you are close, every 40 seconds. Deals 15 Lightning.
Darkness
Summoning him brings darkness over the area and stops any rain.
How to defeat Eikthyr
1
Eat your best food and rest first, so you start with full health and stamina.
2
Any weapon works, because he has no resistances to any damage type.
3
In melee, block with a shield and hit him between attacks. Even a Wood Shield blocks everything he does.
4
For a safer fight, shoot him from range and use the big rocks around the altar as cover.
What to bring
Leather armor
A Crude Bow and plenty of arrows, or a club or spear
A Wood Shield
Cooked meat and berries
What you get
3 Hard Antlers, which craft the Antler Pickaxe
Eikthyr Trophy
Forsaken Power: Run, jump and swim stamina use reduced by 60% for 300 seconds.
What comes next: Hard Antlers for the Antler Pickaxe, which mines copper and tin.
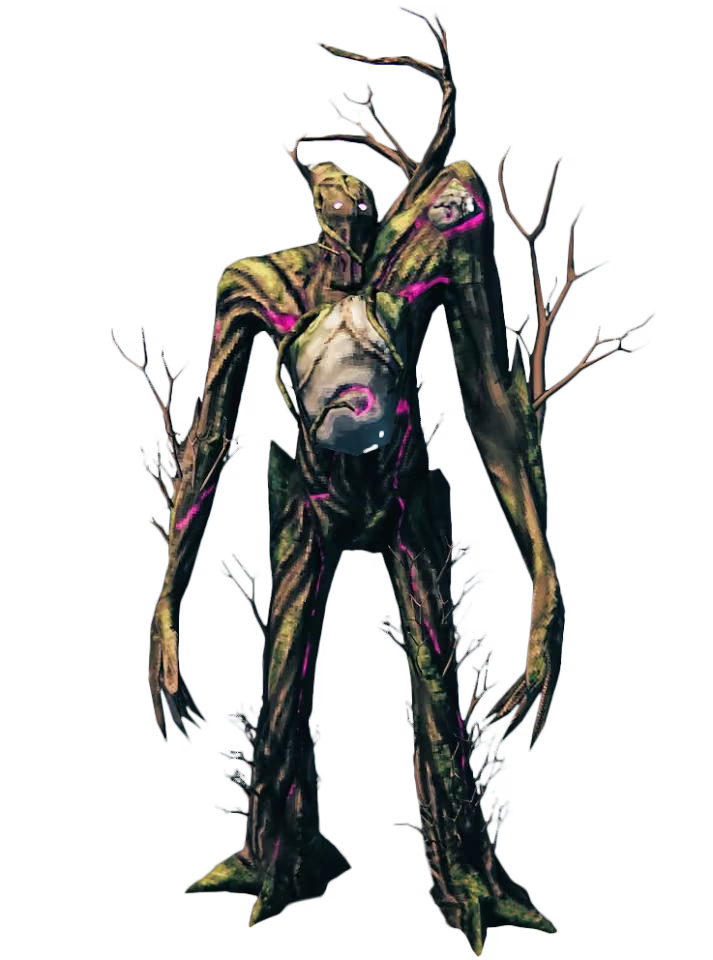
First of the Forest, King-in-the-Wood, Lord over those who dwell at his feet. His roots will grow where cities once stood, their blood his wine, their flesh his meat.
A towering, bark-skinned tree giant who walks the Black Forest. His long-range vines punish standing in the open, but he is very weak to fire.
Health
2,500
Summon
3 Ancient Seeds
Weak to
Fire (very weak)
Resists
Nothing in particular
Immune to
Poison, Spirit, Stagger
What to expect
Vine volley
25 tracking vines at anyone 15 to 50 m away, every 6 seconds. Each deals 35 Pierce. He doesn't use it at melee range.
Stomp
A 5 m ground slam when you are within 3 m, every 5 seconds. Deals 60 Blunt.
Root spawn
15 hostile roots burst up around you every 25 seconds. They can't move and vanish after about 20 seconds.
Unwanted guests
Trolls and Greydwarfs can join in, especially at night, so start in daylight.
How to defeat The Elder
1
Use a Finewood Bow with Fire Arrows. It's the safest and simplest way, though a solo player may need about 200 arrows.
2
Duck behind the four indestructible pillars around the altar whenever he readies his vines.
3
In melee, block, roll or run from the stomp. A fully upgraded Bronze Buckler can block most stomps.
4
Walk away from summoned roots rather than fighting them, since they disappear on their own.
5
In a group, spread out so the vines can only chase one of you while the others attack.
What to bring
Bronze or Troll Hide armor
A Finewood Bow and about 200 Fire Arrows
A Bronze weapon as backup
Eikthyr's Forsaken Power for running
Healing mead and your best food
What you get
Swamp Key, which opens the Sunken Crypts
The Elder Trophy
Forsaken Power: Health regeneration up 30%, with chop and pickaxe damage up 60% for 300 seconds.
What comes next: Swamp Key, which opens the Sunken Crypts.
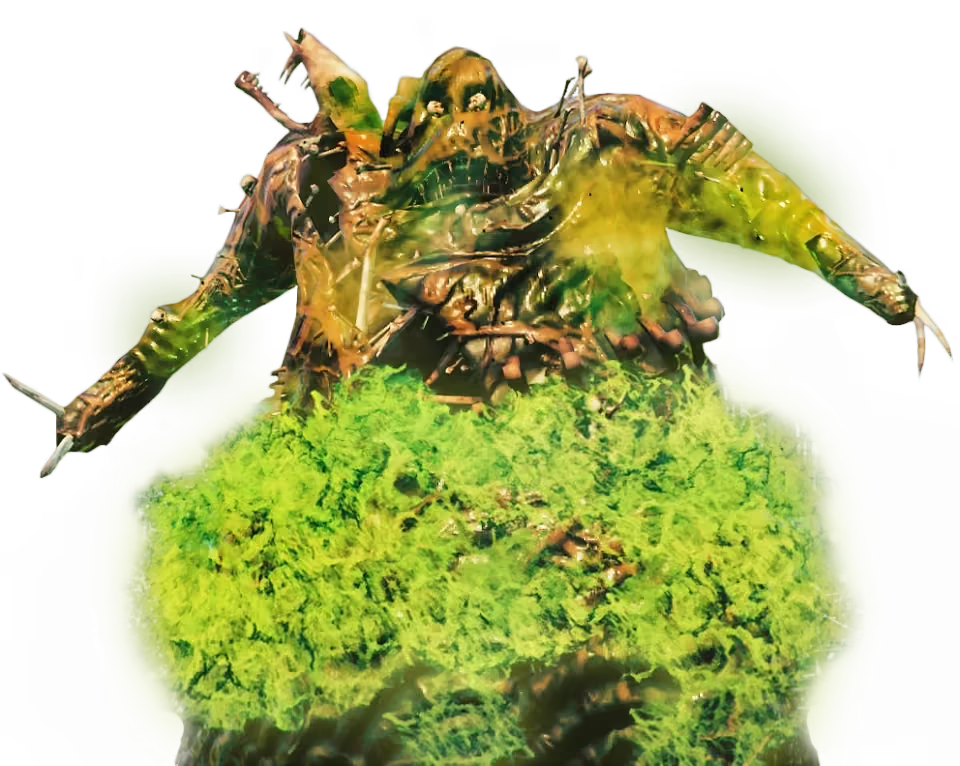
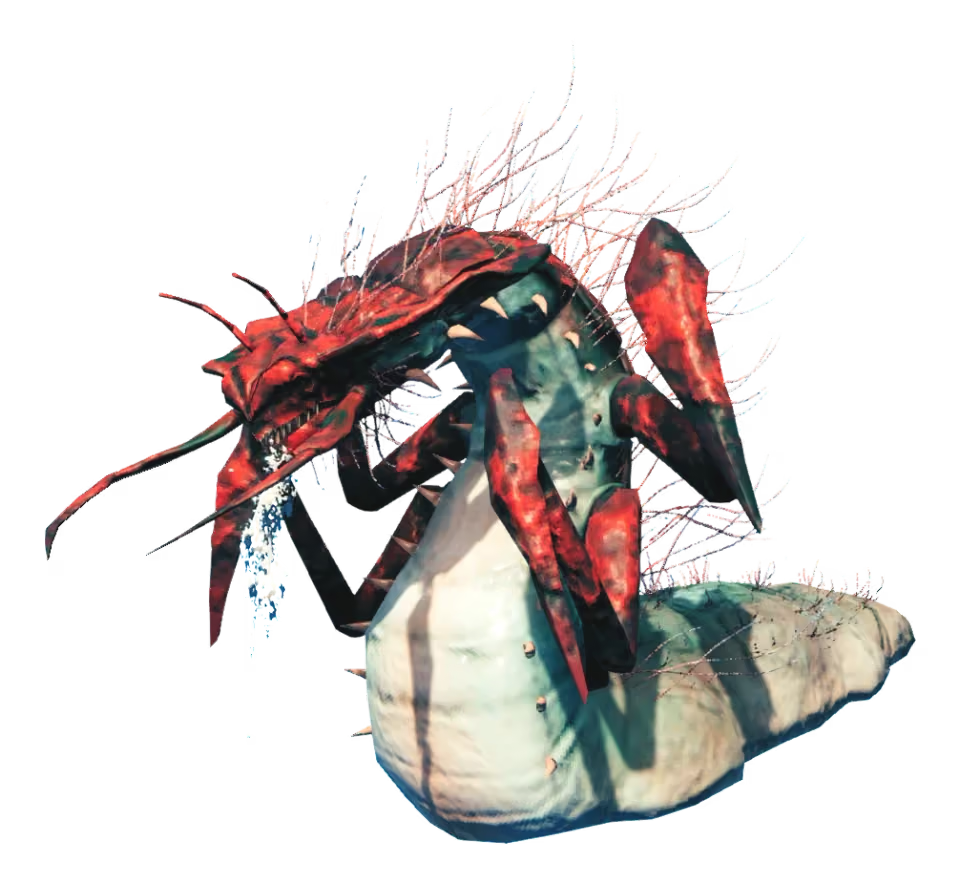
Wanderer, look to your feet, that tread upon our tomb. One thousand bones without their meat, will drag you to your doom.
A hulking mass of black sludge and old bones that rises from the Swamp. Poison is the whole fight: go in without protection and it can finish you in moments.
Health
5,000
Summon
10 Withered Bones
Weak to
Blunt, Frost
Resists
Slash, Fire (very resistant), Pierce (very resistant)
Immune to
Poison, Stagger
What to expect
Poison cloud
He leans back, then vomits a 9 m cloud of 130 Poison that lingers for 15 seconds, every 30 seconds. It can't be blocked or dodged. The area behind him is usually clear.
Punch
A wide swipe reaching 8.5 m, every 7 seconds. Deals 80 Blunt and 50 Poison.
Minions
He pulls a glob from his armpit every 50 seconds. It spawns four Skeletons or Blobs, up to eight of each.
Constant rain
He brings rain with him, so you stay Wet for the whole fight.
How to defeat Bonemass
1
Drink Poison Resistance Mead or wear the Root Mask. Either cuts poison damage by 75%, and the fight assumes you have it.
2
Use a blunt weapon. The Iron Sledge and Stagbreaker hit both him and his minions hard.
3
Start running as soon as he leans back, because rolling is too slow to escape the cloud.
4
Kill minions as they land so they can't surround you.
5
Flatten the ground around the altar with a Hoe beforehand. You move more easily and Leeches can't interfere.
6
For a safer option, shoot Frost Arrows from high ground. Other arrows barely hurt him.
What to bring
Poison Resistance Mead
An Iron Sledge or Stagbreaker
Iron armor
Medium Healing Mead and your best health food
A Hoe
Eikthyr's Forsaken Power for running
What you get
Wishbone, which finds silver and buried treasure
Bonemass Trophy
Forsaken Power: Slightly resistant to Blunt, Slash and Pierce for 300 seconds.
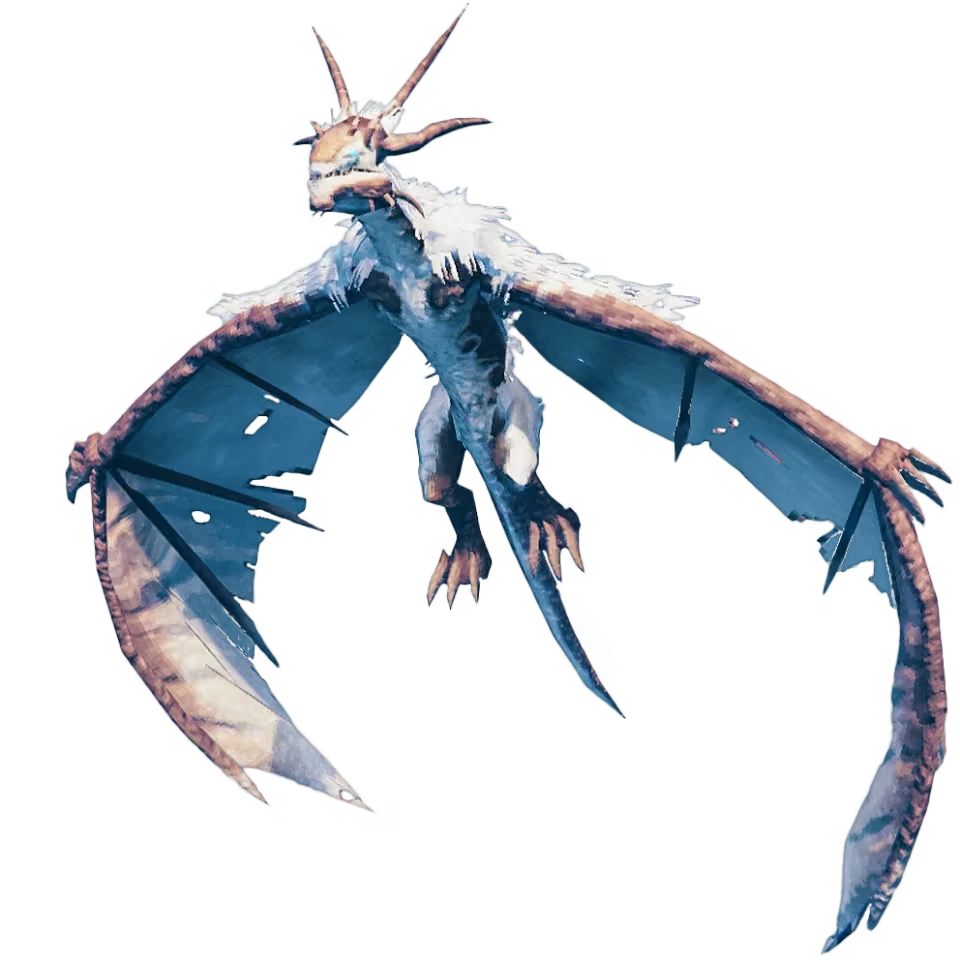
Black wings across the moon and sun, down from the mountain our mother comes. Her weeping tears will fall like rain, her voice will call us home again.
An enormous dragon who swaps between flying and landing, covering everything in frost. Her attacks hit hard but are easy to see coming, so keeping your distance goes a long way.
Health
7,500
Summon
3 Dragon Eggs
Weak to
Fire
Resists
Nothing in particular
Immune to
Frost, Spirit, Stagger
What to expect
Ice barrage
While flying she fires 16 icicles at targets 5 to 25 m away, every 8 seconds. Each deals 30 Pierce and 200 Frost and leaves a crystal behind.
Cold breath
On the ground, a tracking 30 m beam of 200 Frost, every 8 seconds.
Claws
Wide swipes reaching 12 m, every 30 seconds for each claw. Each deals 110 Slash.
Bite
A narrow lunge reaching 8 m, every 30 seconds. Deals 120 Pierce.
Freezing aura
She forces the Freezing effect around her, in any biome.
How to defeat Moder
1
Clear nearby Drakes and Stone Golems first, and start early in the day. Wolves and Fenrings at night make it much harder.
2
Raise pillars of earth with a Hoe to hide behind. She breaks natural rocks and trees, so don't rely on those.
3
Melee does the most damage, but only when she lands. Silver Sword and Iron Mace work well. Frostner doesn't, since she is immune to frost.
4
With a bow, Needle Arrows beat Obsidian, then Fire, then Poison. It's safer but slower, so watch your bow's durability.
5
Her eggs weigh 200 each, so carry them to the altar one trip at a time and place them there before you're ready to fight.
6
Keep a Forge or portal close by, as your weapons may wear out.
What to bring
Frost Resistance Mead, or gear that protects from cold
Wolf armor
A Silver Sword and a Silver Shield
A Draugr Fang and 300 or so arrows
Medium Healing and stamina meads
A Hoe
What you get
Dragon Tears, which build the Artisan Table
Moder Trophy
Forsaken Power: Carry 300 more weight, resist Frost, and move 10% faster for 300 seconds.
What comes next: Dragon Tears, which unlock black metal crafting.
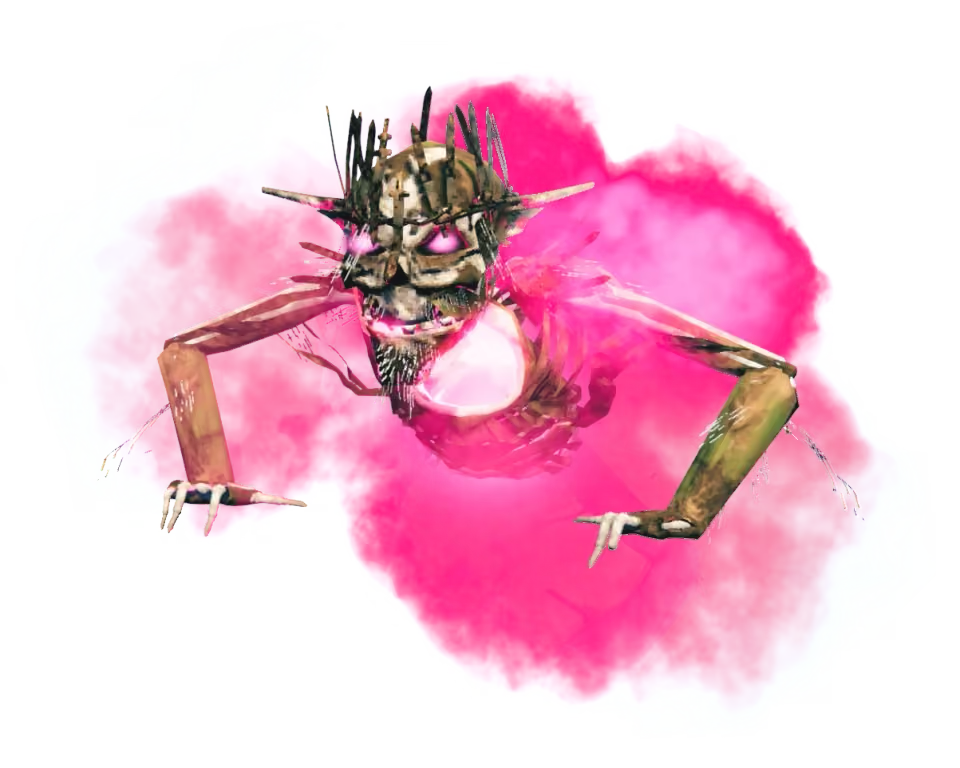
In ages past, he wore a crown, beneath a blood-red sky. Now naught is left of all he was, but his spirit cannot die.
The burning upper half of a fallen king, dragging himself across the Plains. He deals mostly fire damage over a wide area, so fire resistance and steady movement decide the fight.
Health
10,000
Summon
5 Fuling Totems
Weak to
Nothing in particular
Resists
Fire, Pierce (very resistant)
Immune to
Poison, Stagger
What to expect
Fire beam
A perfectly accurate 40 m line against anyone 10 to 40 m away, every 15 seconds. Sets you Burning. Step sideways to avoid it.
Meteors
He raises a glowing red fist, then 10 stones fall, every 25 seconds. Each deals 40 Blunt and 120 Fire in a 5 m blast.
Nova
He raises a glowing blue fist and slams a 10 m explosion when you are close, every 20 seconds. Deals 65 Fire and 65 Lightning, and blue fire lingers afterwards.
Darkness
He brings darkness and stops the rain, so you can't count on being Wet to reduce fire damage.
How to defeat Yagluth
1
Drink Fire Resistance Barley Wine. It halves fire damage, and the fight assumes you have it.
2
Clear any Fuling camp near the altar before summoning him.
3
Get free hits while he slowly rises from the ground at the start.
4
Roll through the Nova just as his fist comes down. It hits very hard if it lands directly.
5
Use the stone pillars as cover from meteors. Standing right in front of his face also works, since his head blocks most of them.
6
Black Metal and Silver swords both work well. For bows, Frost Arrows are the best choice.
What to bring
Fire Resistance Barley Wine
Padded or Wolf armor, or the Fenris set for mobility
A Black Metal Sword or Silver Sword
Frost Arrows if you use a bow
Bonemass's Forsaken Power
A Campfire and Workbench to block spawns
What you get
Torn Spirit, which builds the Wisp Fountain
Yagluth Trophy
Forsaken Power: Resist Lightning, farming skill up by 25, and all damage dealt up 10% for 300 seconds.
What comes next: Torn Spirit for the Wisp Fountain, and the way into the Mistlands.
Born in armour, mother of many, Queen without crown, ruler beneath.
A huge insect matriarch fought inside the Infested Citadel, a dungeon of stairways and mist. She is fast, hits very hard and gets more dangerous as her health falls.
Health
12,500
Summon
A Sealbreaker opens her citadel. Fight her again with 3 Seeker Soldier Trophies
Weak to
Nothing in particular
Resists
Pierce
Immune to
Spirit
What to expect
Slap
A 145° swing reaching 10 m, every 4 seconds. Deals 130 Slash, with enough knockback to throw you across the room.
Ground stab
All four arms stab around her in a 4.5 m circle, every 4 seconds. Deals 150 Pierce.
Call (below 99% health)
A roar that spawns Seekers and Seeker Broods from holes in the arena, every 60 seconds.
Teleport (below 90%)
She burrows and comes up somewhere else, every 60 seconds.
Spit (below 80%)
20 globs of Blunt and Poison that can hatch Broods where they land, every 20 seconds.
Bite (below 70%)
A lunge reaching 10 m, every 10 seconds. Deals 140 Pierce and 100 Poison.
Rush (below 60%)
She charges about 16 m with slashing arms, every 25 seconds. Deals 100 Slash.
How to defeat The Queen
1
Find a Vegvisir and 9 Sealbreaker Fragments in the Infested Mines, and craft the Sealbreaker at a Galdr Table. It isn't used up.
2
Use the arena entrance as your safe spot. She can't attack you there, so step back to heal and recover.
3
Land heavy single hits such as the Krom's secondary attack, because her knockback breaks up long combos.
4
Time rolls just before her attacks land. This avoids both damage and knockback and leaves room for two hits.
5
Clear Broods with a Demolisher or an atgeir's spin before they box you in.
6
Fight with a wall or pillar behind you to reduce how far you get thrown.
7
Avoid bows, as she is too fast and resists Pierce. Mages should bring a magic build instead.
What to bring
Carapace armor
A Feather Cape, to survive falls off the stairs
A Wisplight, as the floor is nearly invisible without one
Major Healing Mead
Poison Resistance Mead
Lingering Stamina Mead
A Krom or Demolisher
What you get
Majestic Carapace, used for the Artisan Press
The Queen Trophy
Forsaken Power: Eitr regeneration up 100%, resist Poison, and no stamina use while sneaking for 300 seconds.
What comes next: Majestic Carapace for the Artisan Press, and the way into the Ashlands aboard the Drakkar.
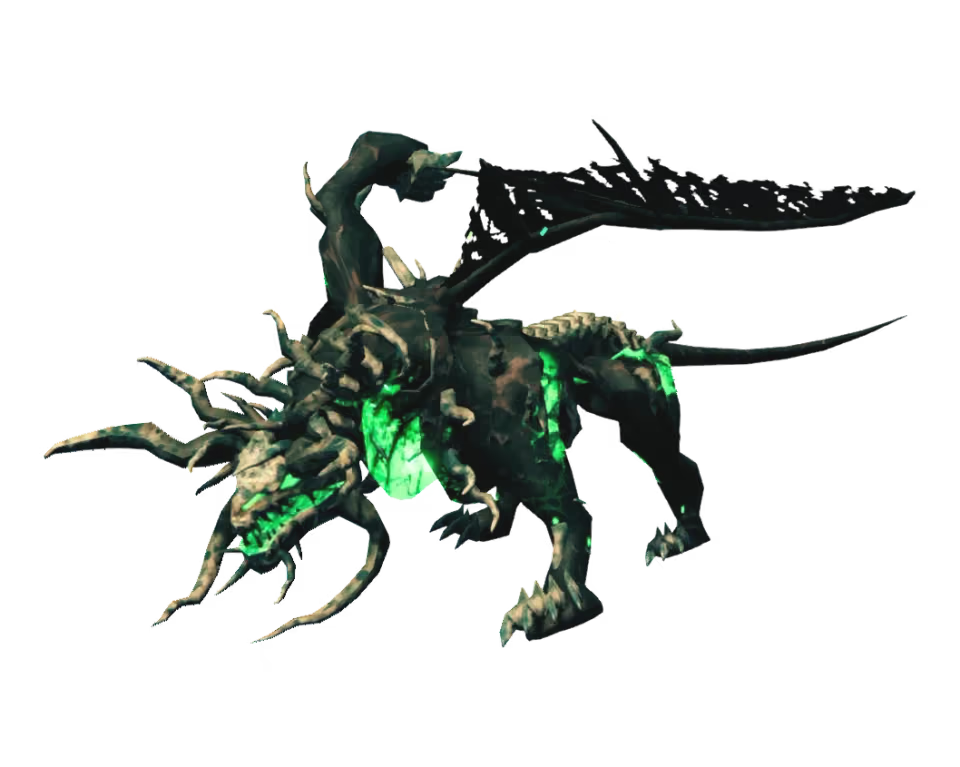
A father noble and proud, he soared through skies of fire. Then madness lowered its shroud, and warped his heart's desire.
A charred, skeletal dragon burning with green fire, fought in a great coliseum in the Ashlands. He covers the arena in flames and uses them more often as his health drops.
Health
25,000
Summon
3 Bells, each crafted from 3 Bell Fragments
Weak to
Nothing in particular
Resists
Pierce
Immune to
Fire, Spirit
What to expect
Fissure
He swipes the ground and green flames chase you, then erupt into pools of 120 Fire and 80 Spirit that last 15 seconds. They can't be blocked and can kill you in seconds, even in full armor.
Bite and claws
Melee strikes reaching 10 m, every 3 seconds. Deal 200 to 210 Pierce, but the wind-ups are slow enough to roll or parry.
Spin
A spinning attack 8.5 m around him, every 20 seconds. Deals 140 Pierce.
Fire breath
He raises his head, then breathes a 17 m line that leaves burning ground for 14 seconds, every 25 seconds.
Meteors
10 meteors after he rears up and stomps, leaving 20 seconds of green fire. Comes faster below 25% health.
Wall of fire
A ring of flame closes around you, leaving a small gap where it started. You can jump over it or run out.
Roar
Below 55% health, orbs from his mouth spawn Summoned Charred Warriors and Marksmen.
How to defeat Fader
1
Drink Fire Resistance Barley Wine. Most of his attacks deal heavy fire damage and it's essential here.
2
Keep moving. To escape Fissure, run in a straight line with short sprints, and never stand in the pools.
3
Roll or parry his melee strikes, as they're his slowest attacks.
4
Lead his fire across his summons. His ranged attacks also damage other Ashlands enemies.
5
Use Iolite weapons for the most damage. Jade weapons can root him, but this gets less useful late in the fight.
6
Raise earth walls around the outside of the arena to keep other enemies out. You can't build inside it.
7
Place a backup portal well away from the arena, because the fight destroys everything nearby.
What to bring
Fire Resistance Barley Wine
Flametal, Ask or Embla armor
An Iolite weapon such as a Storm Fang
Major Healing Mead
Medium or Lingering Stamina Mead
Tonic of Ratatosk or Lightfoot Mead for mobility
3 Bells to summon him
What you get
Kindled Ribs, which build the Eternal Pyre
Fader Trophy
Forsaken Power: Resist Fire, gain adrenaline twice as fast, and reduce the stagger meter by 50% for 300 seconds.
What comes next: Kindled Ribs for the Eternal Pyre, whose Embers make the Ember Charges used to reach Bloodgold.
The shackled frost giant at the end of the journey, chained between two pillars in a chamber known as The Prison. He is the final boss, and the fight runs through three phases.
Health
About 40,000 to 47,000, depending on the guide
Summon
3 Malicious Blood, won by ending Jotun invasions, offered at the Aesir Passage
Weak to
Slash, Blunt
Resists
Pierce, Frost, Fire, Lightning
Immune to
Spirit
Less certain than the other guides. No community page covers this boss yet, so this draws on two published guides that disagree on some details. The game's own item list confirms the three phases, the seven summoned bosses and the named chain attacks. His health and resistances haven't been checked against game data.
What to expect
Phase 1: chains
He breaks free when you get close, then attacks with Chain Slam overheads, a hard-to-read Chain Sweep, a wide Chain Whirl and a devastating Chain Rush lunge.
Phase 2: the aspects
He becomes immune and summons versions of all seven earlier bosses, two at a time: Eikthyr, The Elder, Bonemass, Moder, Yagluth, The Queen and Fader.
Phase 3: the last stand
His chains now deal elemental damage. A rapid Chain Fury joins the rotation and tendrils sprout across the arena, like the Elder's roots.
How to defeat Kall Fimbulbringer
1
Reach him first. Offer 3 Malicious Blood, won by ending Jotun invasions, at the bowl outside the Aesir Passage.
2
Build a portal near the Aesir Passage before you go in.
3
Use Slash or Blunt weapons. He resists Pierce and most elements, and is immune to Spirit.
4
In the first phase don't overcommit. Chip away at him and stay ready to dodge.
5
In the second phase, one guide suggests killing the aspects in this order: Eikthyr, Bonemass, Yagluth, Moder, then The Queen and Fader.
6
The last phase is about endurance, so save your meads and keep your food up.
7
Mages can bring the Spirit Caller, which one guide rates as extremely good here.
What to bring
Nord or other Deep North weapons and armor
Fire and Frost Resistance Meads
Plenty of healing and stamina meads
Strong health and stamina food
A Forsaken Power of your choice
What you get
Crown Jewel, which crafts the Crown of Valheim
Sacrificial Blood, to carry back to the Meadows and finish the game
Forsaken Power: None. One guide reports he gives no Forsaken Power.
What comes next: Crown Jewel for the Crown of Valheim, and Sacrificial Blood to carry back to the Meadows and finish the game.
Boss images and combat figures come (CC BY-SA), with the Kall guide drawing on. Numbers can change with game patches.
02
Where the altars wait
Every world is generated from its seed, so no two maps match and there are no universal coordinates. Use this map to see which part of the world to search, then follow the clue to find the altar in your own.